
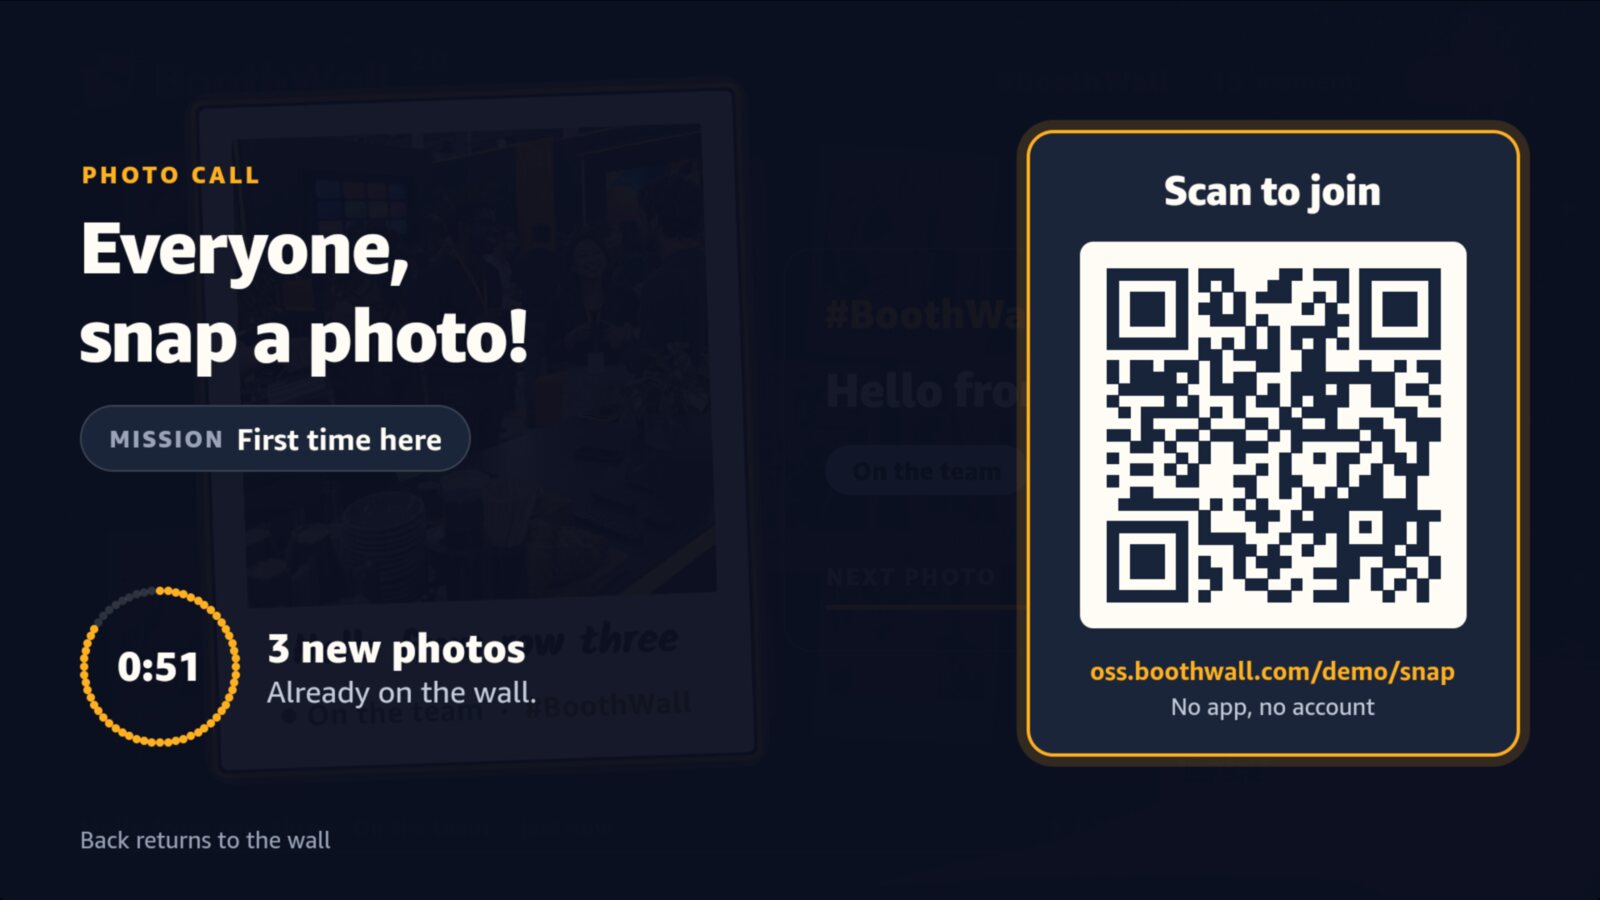
Photo call
Hold OK on the remote, or press Start a photo call in Control: a minute with a big QR code, a mission from your categories and a countdown, then a closing card with the photos it brought.
Open-source photo wall
A live photo wall for one event. Guests scan the QR code on the screen and take a photo, a host approves it, and a second later it drops onto the wall as a polaroid. Native on Fire TV (Vega OS), the same wall in any browser, and you host it yourself: no account to sign up for.

Our project for the Fire TV track of Build, Ship, Shape: Amazon Developer Hackathon.
How it works
Open / on the display, share /snap with guests and keep /control on the host's phone or laptop.

01
Guests scan the QR code on the screen. It opens the guest page, /snap, in the phone's browser.

02
They pick a photo, add a caption, choose a category when required and tick the consent box.

03
A host approves it in the Control panel. Manual approval is the default.

04
It drops onto the wall as a polaroid, with a badge and a moment full screen. The guest's page says so.

What you get
One deployed stack runs one wall for a single host. Identity, branding and presentation live in one config file.
Hold OK on the remote, or press Start a photo call in Control: a minute with a big QR code, a mission from your categories and a countdown, then a closing card with the photos it brought.
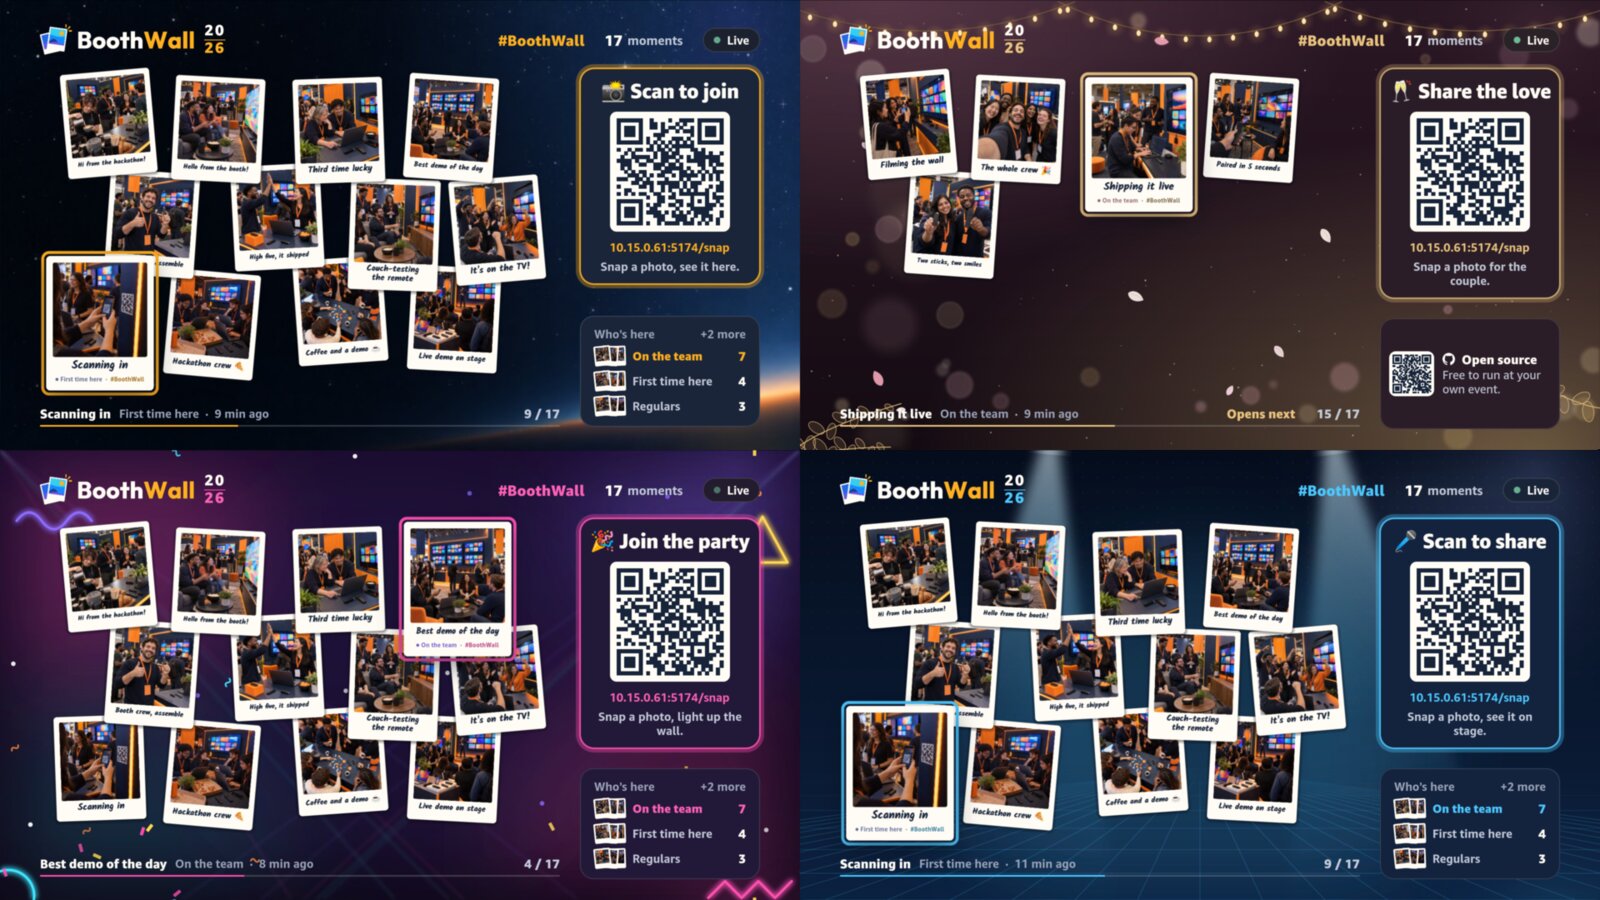
Universal, wedding, party and conference, each one line in the config: settings.theme. In demo mode the remote's Menu button flips through them.
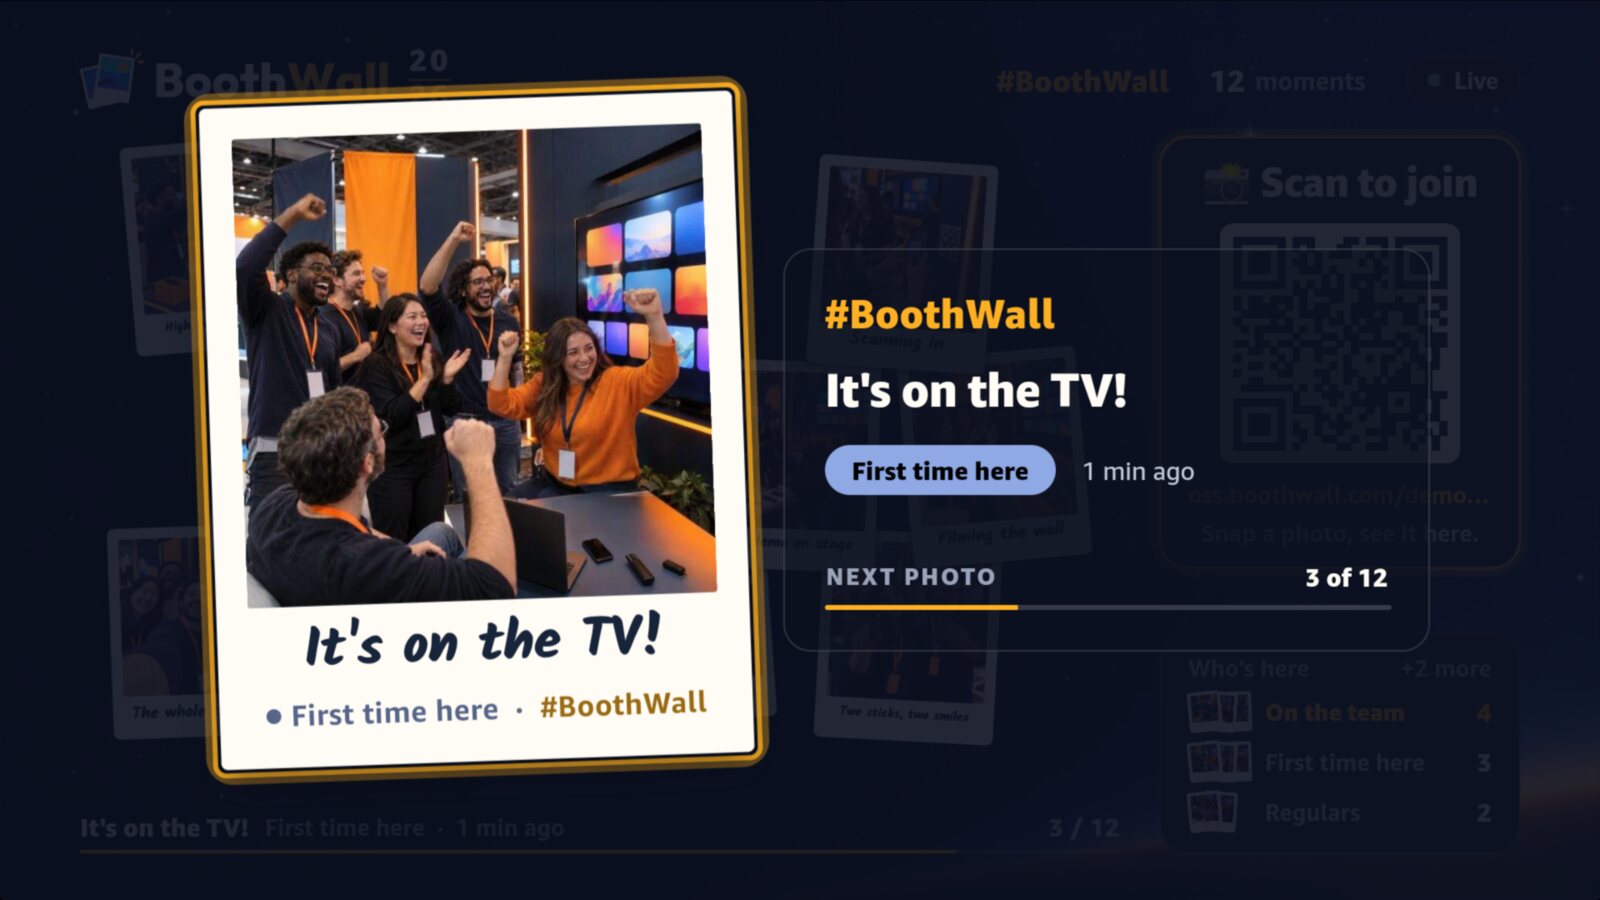
The remote's media keys reach the wall through Vega Media Controls.

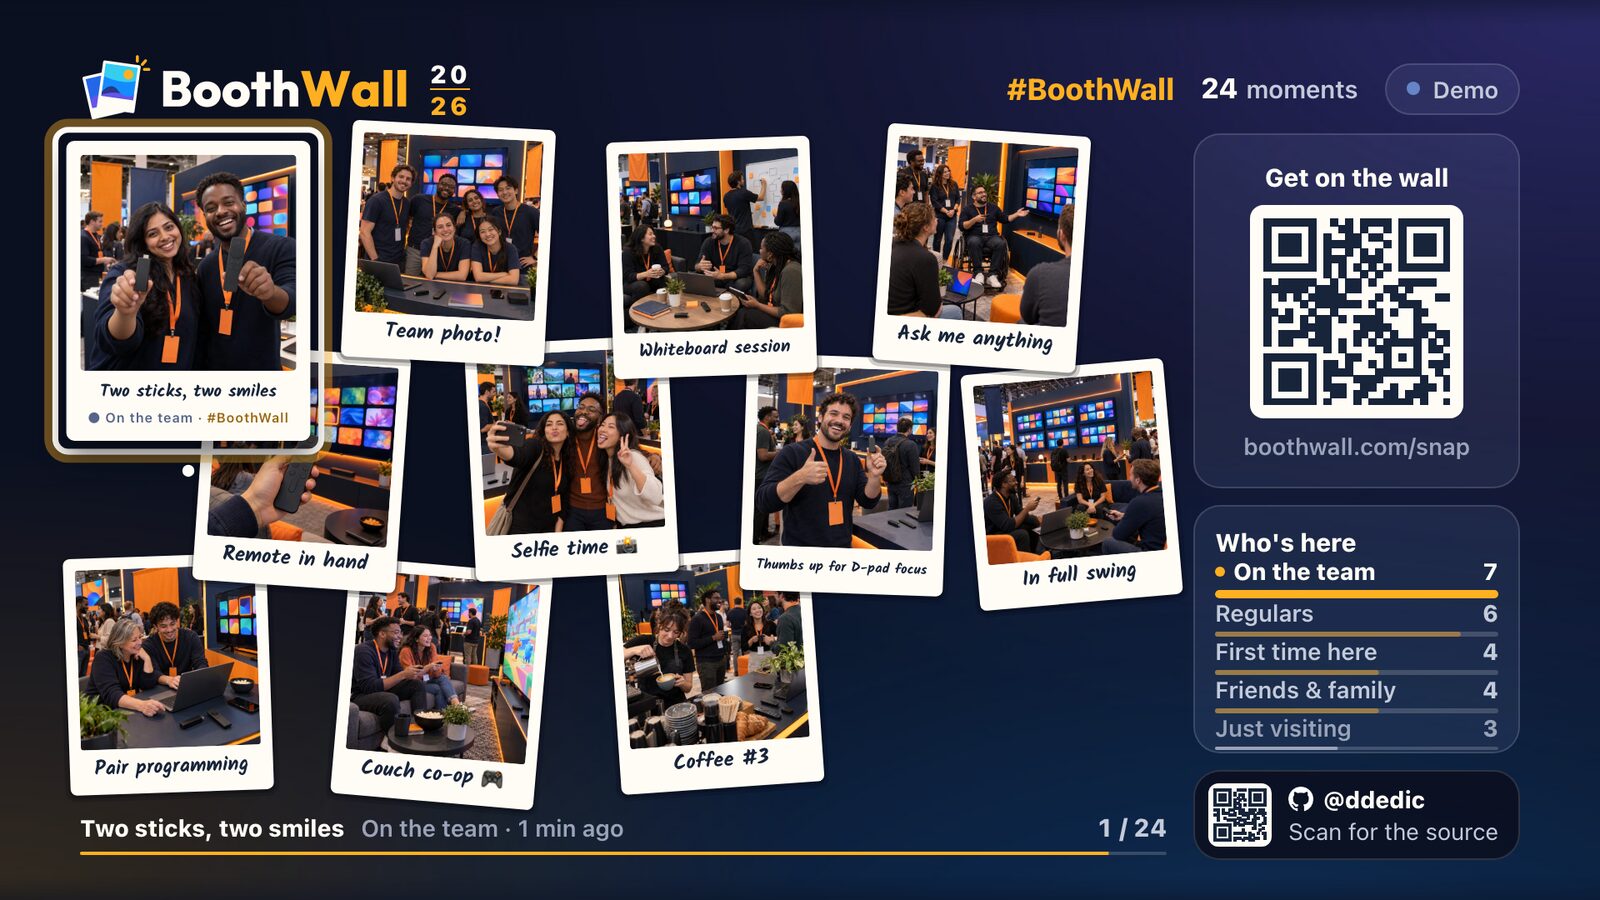
One Durable Object pushes each approval to every screen. Eleven polaroids drift on the wall while it steps through every approved photo; new arrivals get a badge and a moment full screen.
Quick start
No Vega SDK and no Cloudflare account needed. Add the Virtual Device when you want the TV app too.
Starts the API and web app on your network address with approved demo photos, and prints the display, guest and Control addresses plus the local passcode.
$ git clone https://github.com/ddedic/boothwall && cd boothwall
$ pnpm install
$ pnpm demo --lanYou need the Vega SDK with the Virtual Device, Node 24 and pnpm 10. pnpm try is pnpm demo --lan plus the TV.
$ export PATH="$HOME/vega/bin:$PATH"
$ pnpm tv:vvd:start:1080   # the Virtual Device at 1920×1080
$ pnpm tryDocs
The same guides as the repo's docs/ folder, rendered here.
Questions
No. You run your own copy for one wall. The Control panel is protected by the passcode set during setup, and repeated wrong attempts are rate-limited.
To your own deployment: photos in R2 and rows in D1 on your Cloudflare account, or on your machine with pnpm demo. Manual approval is the default, so a photo reaches the wall only once a host approves it, unless you explicitly configure autoApprove for a trusted event. Cleanup follows your configured retentionDays.
Not to try it: pnpm demo --lan runs the API and web app on your machine with no Cloudflare account. The backend is a small Cloudflare one (Workers, R2, D1 and a Durable Object), and pnpm boothwall setup puts your own wall on Cloudflare's free tier in about 15 minutes.
The native TV app supports Vega OS on Fire TV; you build it yourself. The same wall runs in any browser, so a laptop, a projector or the TV's own browser works too.
The code is MIT, and so is the default BoothWall artwork, including the demo photos.
Yes: BoothWall Cloud hosts it for you.
Want it hosted? BoothWall Cloud hosts it for you: sign in, create a wall, connect the TV from your phone, and manage every wall from one place. This repo is the complete open edition.
BoothWall Cloud